Getting started
Welcome! This page walks you through your very first few minutes with the system — signing in, looking around, choosing where you're selling from, and a short checklist to get your shop ready to ring up its first real sale.
Overview
By the time you bought this product and put it on your server, the one-time setup wizard (the installer) has already created your company, your first store and your administrator account. So your job now is simpler: log in, get comfortable with the screens, and add the handful of things you need to start selling — a few products, your staff, and a printer.
You don't have to do everything at once. The system works perfectly well even before you've filled in every detail. Start with the essentials below and come back for the rest whenever you like.
Logging in the first time
Open a web browser and go to your shop's web address (the one where the system was installed). You'll land on the login page. Type the email and password that were set up for your administrator account during installation, then click Sign in.
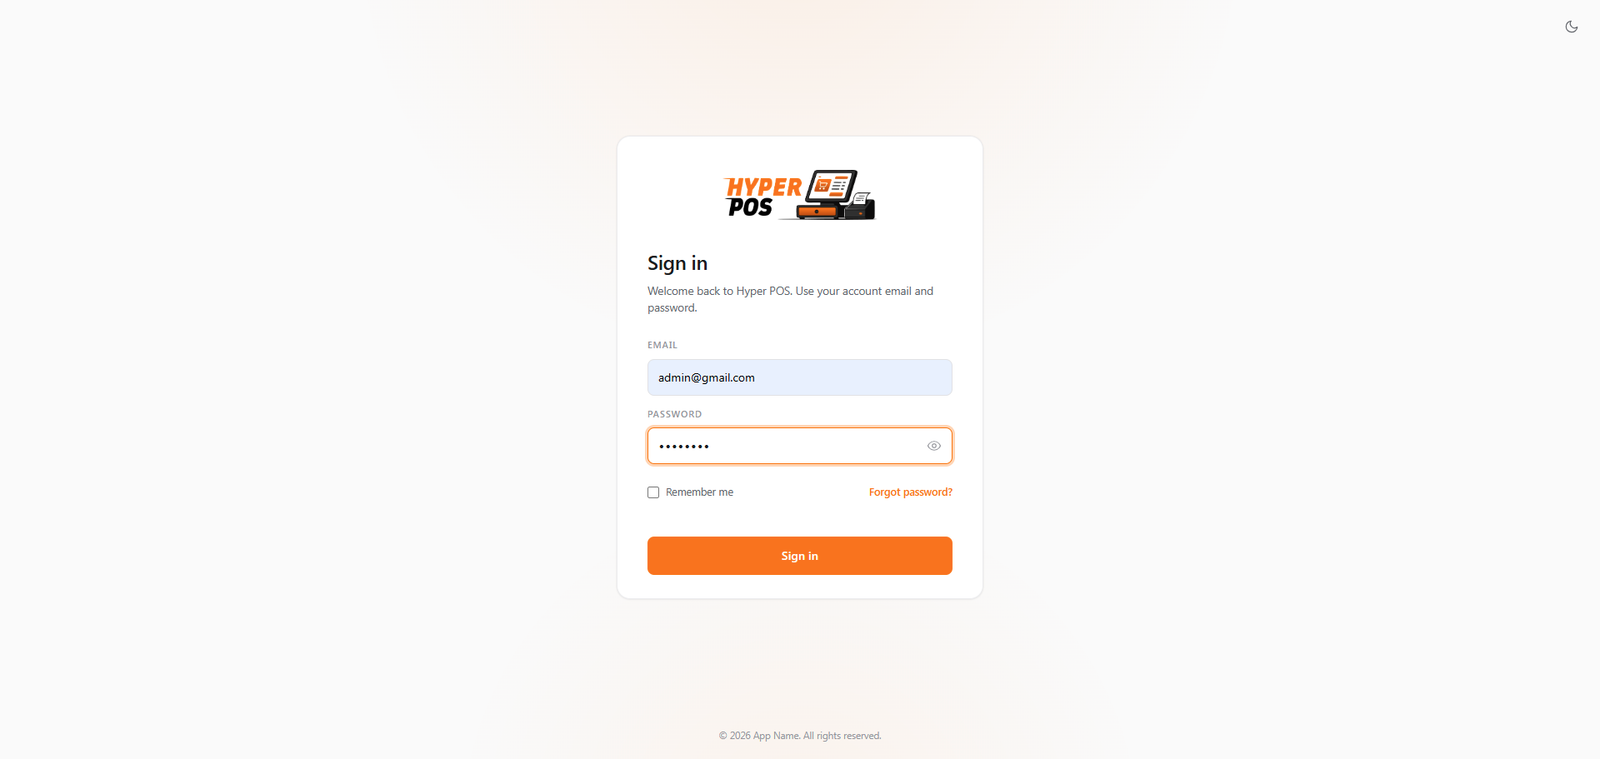
If you were asked to change your password, that's a one-time safety step — pick a new password and continue. If your account has more than one store, you'll be asked which store you're working in today. And if extra sign-in security (a code from an app) was switched on, you'll be asked for that code too.
What you see after login
Once you're in, you arrive at the Dashboard — your shop's home screen. Down the left side is the sidebar menu that takes you to every part of the system (products, sales, customers, reports and so on). Along the top is the top bar, which holds search, notifications, the dark-mode switch, the language switch and your profile menu.
If you'd like a guided tour of each, see Dashboard tour and Finding your way around.
Picking your store and terminal
The system can run more than one store (a shop location) and, within a store, more than one terminal (a till or checkout point — like "Lane 1" or "Counter A").
- Store: if you only have one store, this is chosen for you automatically. If you have several, you'll pick one when you log in, and you can switch later from the top bar.
- Terminal: when you open the checkout (POS) screen, you may be asked which terminal you're using. This keeps each till's cash count and printing separate, which matters at the end of the day.
Don't worry if you're not sure yet — you can set up and rename stores and terminals any time under Stores & terminals.
Your first-day checklist, step by step
Work through these in order. Each one links to a fuller guide if you want more detail.
-
Check your company details & currency
Open General settings and confirm your company name, address, currency, time zone and number formats are correct. These appear on receipts and reports, so it's worth getting them right first. See General settings.
-
Add a few products
You can't sell what isn't in the system, so add some products with their names, prices and barcodes. Even five or ten is enough to test things. Later you can bulk-import a full catalogue from a spreadsheet. See Products.
-
Add your staff
Create an account for each person who will use the system, and give them a role that controls what they're allowed to do (for example, a cashier can ring up sales but not change settings). See Users & roles.
-
Connect a receipt printer (optional)
If you want printed receipts and a cash drawer that pops open, set up your printer once. It's optional — you can sell without one. See Hardware & printing.
-
Make a test sale
Open the POS screen, add a product, take a pretend cash payment and finish. This proves everything is working end to end. You can refund the test sale afterwards if you don't want it in your records. See The POS screen.
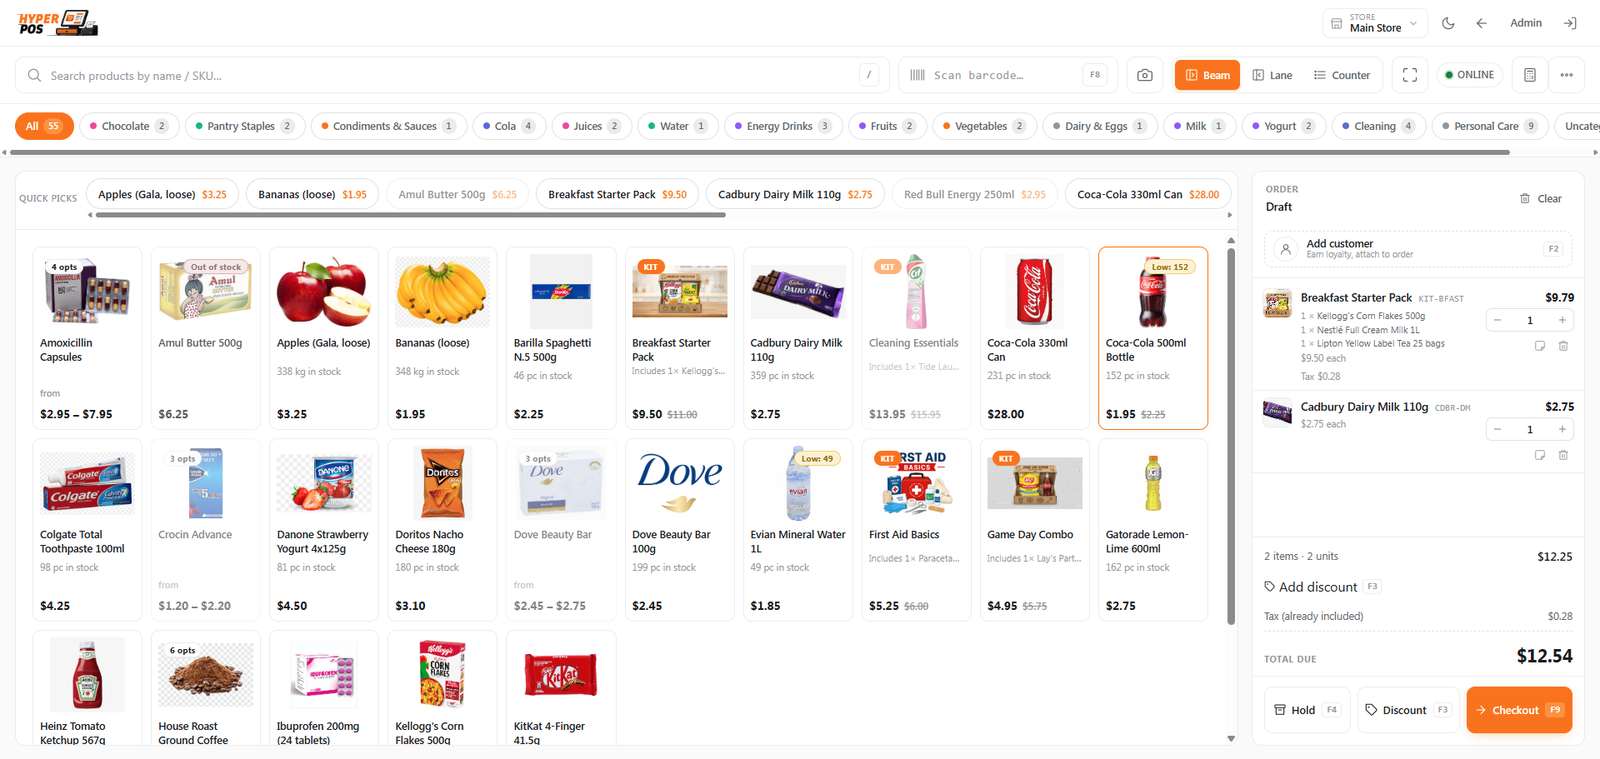
With settings, a few products, your staff and a working sale, you're ready to open the shop. Everything else in this guide builds on top of these basics.
Tips & best practices
- Set currency and time zone before anything else. They affect every price, receipt and report, so fixing them first saves rework.
- Start small with products. Add a few by hand to learn the screen, then import the rest from a spreadsheet once you're comfortable.
- Give each person their own login. Shared logins make it impossible to see who did what — and roles let you keep sensitive screens for managers only.
- Bookmark the login page on every device that will use the system so staff can get to it in one tap.
Notes & warnings
Keep your administrator password safe. The admin account can change anything in the system. If you lose access to it, recovering can be difficult — store it somewhere secure.
If you can't sign in, double-check the email and password are exactly as set during installation. After several wrong tries the system briefly pauses new attempts as a safety measure — wait a minute and try again.
Related: Dashboard tour · Finding your way around · General settings · The POS screen