Stores & terminals
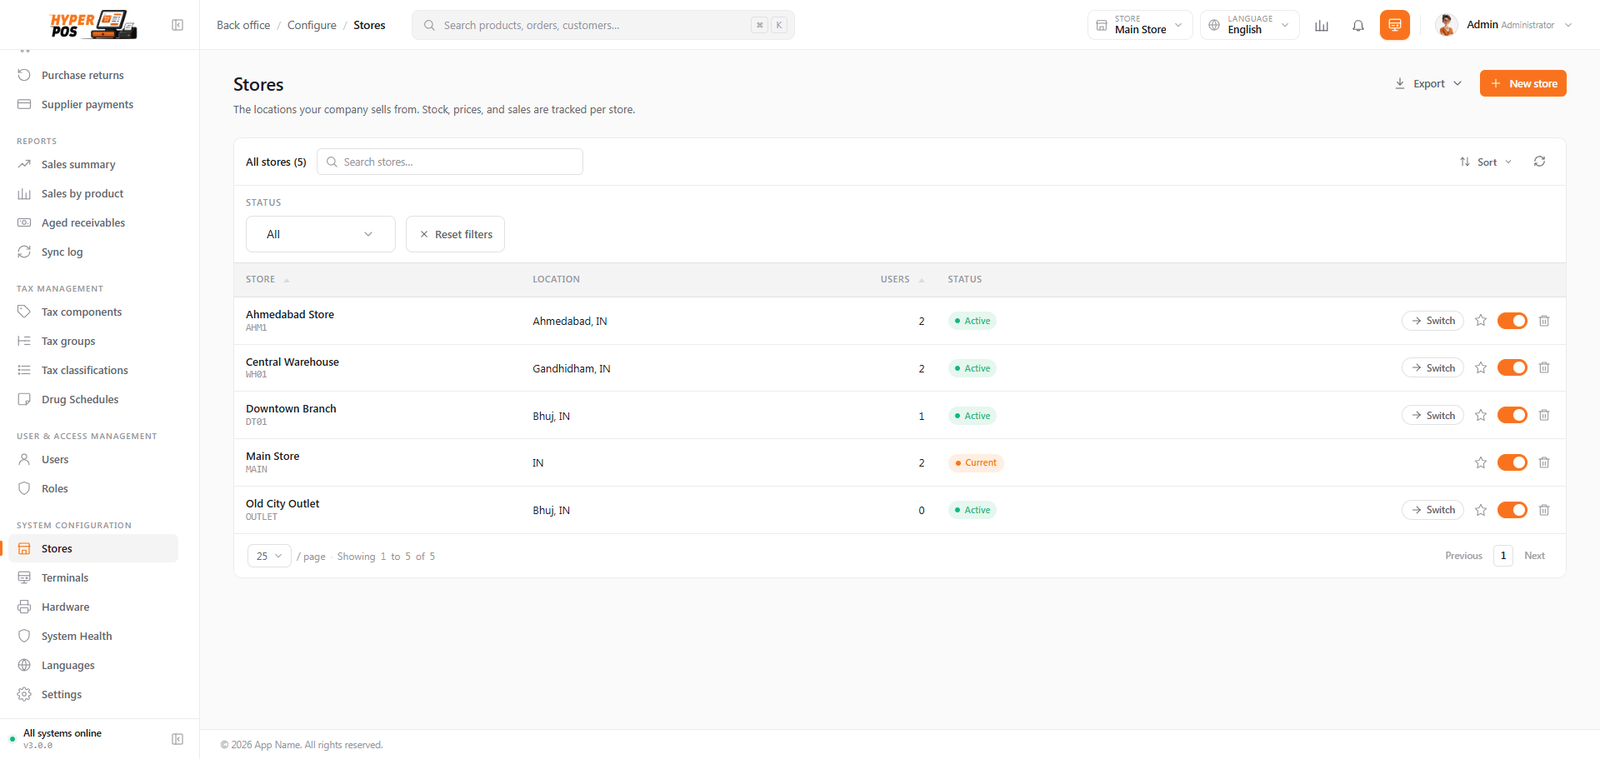
Your business can have one store or many. A store is a location — a shop, a branch, a warehouse. Inside each store are terminals — the individual tills or registers where staff actually ring up sales.
Overview
One install of the system serves one business. That business can have several stores — think of a chain with three branches, or a shop plus a stockroom. Your products and customers are shared across all stores, while stock levels, sales and shifts are kept per store, so each location's numbers stay separate and accurate.
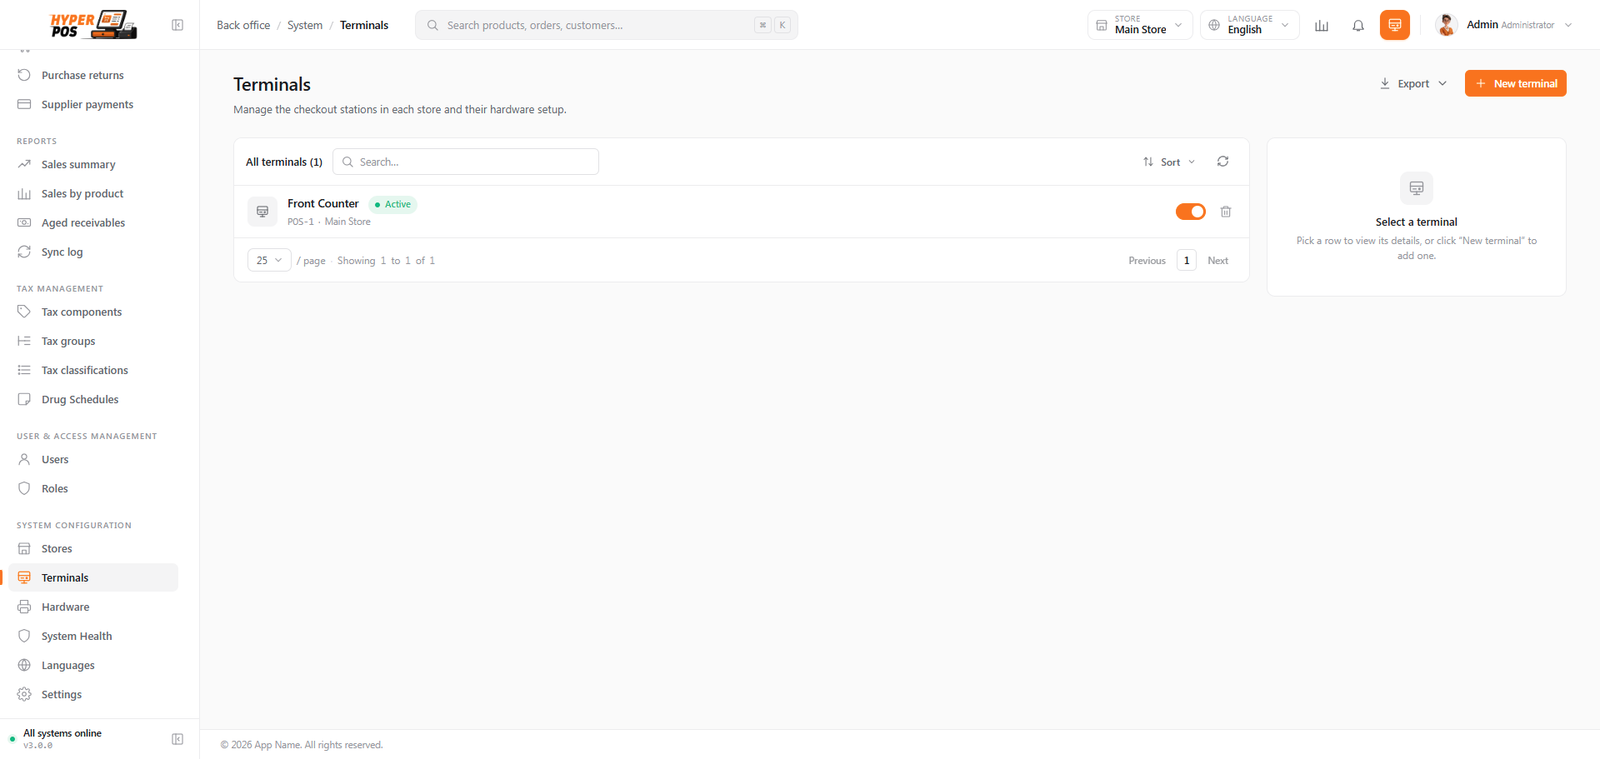
A terminal is one workstation within a store — a tablet, laptop or desktop running the checkout. Terminals let receipts show which till served the customer ("Cashier 2") and let you see takings per register at the end of the day.
Why it's useful
- Run many branches from one place. Add as many stores as you have locations, all in a single system.
- Keep each location's figures clean. Stock and sales are tracked per store, so a sale in one branch doesn't muddle another's stock.
- Know which till did what. Terminals let you split takings and shift reports by register.
- Share what should be shared. Products and customers are common to all stores, so you set them up once.
Adding a store, step by step
-
Open Stores
Click Stores in the sidebar, then click Add store.
-
Give it a name and code
Enter a name (like "Main Branch") and a short code (like
MAIN). The code appears on receipts and sale numbers, so keep it short. -
Add the address
Enter the store's address. This prints on receipts for that location, so customers see the right branch.
-
Choose its behaviour
Set options like whether the store uses shifts. You can also have the system create a first terminal automatically.
-
Save
Click Save. The new store is ready, and you can now assign staff to it (see Users & roles).
Adding a terminal
Terminals live inside a store. Open Terminals in the sidebar (or the Terminals tab on a store) and click Add terminal. Give it a name (like "Till 1") and a short code. A terminal belongs to one store and stays there — if you need to move one, you delete it and create a new one in the other store.
How staff pick a store and terminal
When someone logs in, the system works out which store they're working at:
- If they belong to one store, they go straight there.
- If they belong to several stores, they pick one from a short list (or it remembers their usual choice).
- They can switch stores any time using the store dropdown in the top bar.
The first time someone opens the checkout on a particular device, if the store has more than one terminal, they choose which till that device is. The system remembers it, so the same workstation always opens to the same terminal.
Tips & best practices
- Keep store codes short and clear. They show up on receipts and sale numbers, so
BR2beats a long name. - One terminal per physical till. Name them the way your staff already think of them ("Front desk", "Pharmacy counter").
- Move stock between stores properly. Don't just adjust numbers — use Stock transfers so both locations stay accurate.
- Set up hardware per terminal. Each till can have its own printer and drawer — see Hardware & printing.
Notes & warnings
A terminal can't be moved to a different store. It's tied to the store it was created in. If you need it elsewhere, delete it and add a new one in that store.
Deactivating a store keeps its history. No new sales can happen there, but past records stay put. Stores can only be fully removed once they have no open shifts or pending transfers.
Currency, timezone and language are set once for the whole business, not per store. They live in General settings and apply to every store alike.
Related: Stock transfers · Hardware & printing · Users & roles · General settings